She Loves The F Word

chocolate

I Scream, You Scream!

Foodkate lawComment
image.jpg

We all scream for ice cream!   3 cheers for Summer.  In honor of the first full week of Summer,  I'm posting one of my family's favorite Summertime treats, S'more ice cream sandwiches.      

I got the idea for these gems after visiting the San Diego County fair several years ago.  The fair is famous for ridiculous food combos including deep fried Oreos and Krispy Kreme cheese burgers. I saw this ice cream sandwich at a stand and had to have it.   It was so mind blowingly good that I knew I had to run home and recreate it. Now it's a Summertime staple in the Law house.  It's only 4 ingredients and it's pretty much impossible to screw up so what are you waiting for?  Get these 4 ingredients and GO:  

  1. Graham Crackers
  2. Chocolate Chips
  3. Mini Marshmallows
  4. your favorite ice cream
image.jpg

Start by melting chocolate chips in a microwave safe bowl.  Heat 30 seconds at a time stirring in between until the chips are smooth.  Be careful not to over heat.  

image.jpg

Break graham crackers in half and place on a parchment paper lined baking sheet. 

image.jpg

Spread melted chocolate onto top half of a graham cracker with a knife. Place flat in the freezer until chocolate hardens (about 10 mins).   

image.jpg

Try to keep curious toddler hands away from these chocolaty treats. 

image.jpg

Pull your favorite ice cream out of the freezer to soften for a few minutes.   This week I used peanut butter chocolate because why the hell not!?  I like the slow churned ice cream because it is softer and easier to scoop out.   Also I'm not mad about saving a few calories here and there, ya feel me?  

Next tear off a few 12x6 inch pieces of aluminum foil.  You'll need one piece of foil for every ice cream sandwich you are making.  The key is to have these all torn and prepped before you get into the ice cream part because once you start scoping ice cream, you'll need to move quickly to avoid a melty mess.       

image.jpg

Scoop one full scoop of softened  ice cream onto the non chocolate side of one graham cracker. Top the ice cream with a few mini marshmallows. Resist the urge to get cray cray with the marshmallows.  You will need some ice cream exposed to help "glue" the top graham cracker in place.   

image.jpg

Place the top cracker on top of the ice cream with the chocolate side facing out. Add a few additional mini marshmallows to the sides of the sandwich.   

image.jpg

 Wrap each sandwich in tin foil and return to the freezer to harden.  

image.jpg
image.jpg

Remove from the freezer and enjoy!!!

image.jpg

I promise I'll be back with some healthy, 21 day fix approved recipes next but until then, I'm just going to sit here and shove my face in this chocolatey goodness.   

Chocolate Chip Blondies - Paleo Edition

Foodkate law2 Comments

Summer!!!!  I love you!   Where have you been all my life?!!   You know what, I'm not even mad, let's just get busy making up for lost time.  Bring on the BBQ's, bleach blonde hair, bikinis oh and let's kick it off with a 3 day weekend.  HOLLER!!   While I'm all for a splurge here and there - don't let all the partyin' and good times crash the progress you're making on your bikini bod.  After all, you still have the whole Summer ahead of you.

That's why I got your back with a paleo friendly dessert that will bring all the boys to the yard.    My girl Jill introduced me to this recipe on her blog Glitter Grace & Thyme.  When she was going through in vitro she had to have a very strict paleo diet.  Let me tell you, this girl knows her way around a paleo kitchen!  Since I'm not *exactly* 100% paleo, I've made a few tweaks but for all intents and purposes this is still a paleo friendly recipe.   Either way you stack, it you have yourself a healthy(ish) dessert.   

In honor of those summer time highlights I can't wait to have, I present you my Paleo Chocolate Chip Blondies. 

First start blending a can of chickpeas in a food processor.  If you have a bad #ss kitchen aid mixer, that will work too.  After the chickpeas are smooth, add the PB, vanilla extract, coconut sugar, maple syrup, baking soda, baking powder, sea salt, mix until smooth.  Hand mix in 3/4 cup of chocolate chips. 

Spread mixture into a parchment paper lined pan and then sprinkle on top the remaining 1/4 cup of chocolate chips. 

Bake at 350 for 40- 50 minutes until a toothpick comes out clean. 

Remove - let cool then cut that sh#t up and dive in!

Chocolate Chip Paleo Blondies:

  • 1 can of chickpeas, drained (16oz)
  •  3/4 cup of natural peanut butter
  •  2 tsp of vanilla extract
  •  1/2 cup of coconut sugar
  •  1/4 cup pure maple syrup
  •  1/2 tsp of sea salt
  •  1/2 tsp of baking soda
  •  1/2 tsp of baking powder
  •  1 cup of chocolate chips,  (use the dairy free chips to make it 100% paleo)

Directions:
Preheat oven to 350 degrees. Line a 8x11 pan with parchment paper, coat the parchment paper and sides of the pan with coconut oil.


Place all ingredients except chocolate chips in a food processor or a kitchen aid and mix until smooth. Add 3/4 of the chocolate chips to the batter and mix


Pour the batter into the pan and sprinkle with the remaining chocolate chips. Bake for 40-50 minutes make sure to do the toothpick test at 40 - it's easy to over cook these.
Remove from oven and let cool.

This recipe is proof, blondes really do have more fun!

Healthy(ier) Crunch Bar

Foodkate law1 Comment

I saw this recipe on Thrive Market's blog and I knew I had to try it.    It's no secret I'm a huge fan of quinoa and I may be one of the few adults that will actually still eat a Crunch bar so this combo made my wildest dreams come true.     It's 'healthy' because it's packed full of antioxidant rich dark chocolate and the amazing superfood quinoa.  

Quinoa is one of the most protein rich foods we can eat. It is a complete protein, meaning it contains all 9 essential amino acids. It also has twice as much fiber as most grains. As if that wasn't reason enough to love quinoa, it contains iron, lysine, magnesium, riboflavin, and a high content of manganese. Quinoa is basically the bada#s of all the grains. I put it in everything: salads, burgers, meatloaf, and now desserts. YES!!

First things first for this delicious dessert, I had to pop the quinoa. This was a totally new experience for me so of course I just You Tubed it.  Duh. I'll save you an internet search and give you the down low below.

POPPING QUINOA

I rinsed the quinoa several times under cold water and drained it on a paper towel lined strainer. After the quinoa was thoroughly dried, I spread it out over a baking sheet. Then I baked the quinoa for 1 hour at 100 degrees F,  until it was completely dry.

After the quinoa was done in the oven, I set it aside to cool and got ready to pop it like it's hot.   See what I did there?  

I heated a heavy pot over medium-high heat. I put 3 tablespoons of quinoa into the pot and covered it with a lid.  No oil, no nothing, just my hot pot and my quinoa. It took a me a few attempts to get the hang of it but basically if the pan is hot enough, the quinoa will pop right away, sort of like popping popcorn on the stove. After the popping died down, I removed the popped quinoa and poured it into another bowl. I repeated this for several rounds, 3 tablespoons at a time, until all the quinoa was popped.  

Aside from using popped quinoa for this kicka#s dessert, you can eat toasted quinoa as a snack, like popcorn. The protein and fiber in quinoa will keep you fuller longer than popcorn.   Another added bonus is it stores for several days in an airtight container.   

Popped Quinoa

Popped Quinoa

After all my quinoa was popped, I melted the dark chocolate in a double boiler over the stove.  This double boiler was my grandmother's.  It's an oldie, but a goodie. They just don't make them like this anymore, I swear. Plus it makes me happy when I use it.  It reminds me of a story my grandmother still tells about a time she was visiting when I was little.  She, my mom and I were all cooking together in the kitchen.  My Grandma was trying to help me wash a dish in the sink.  I clearly didn't want her help and I turned to my mother and said, "Mom, she thinks this is HER kitchen."  I guess I always was a bossy B.   

After the dark chocolate was melted, I mixed in the popped quinoa and then poured it on to a parchment paper lined glass pan.  

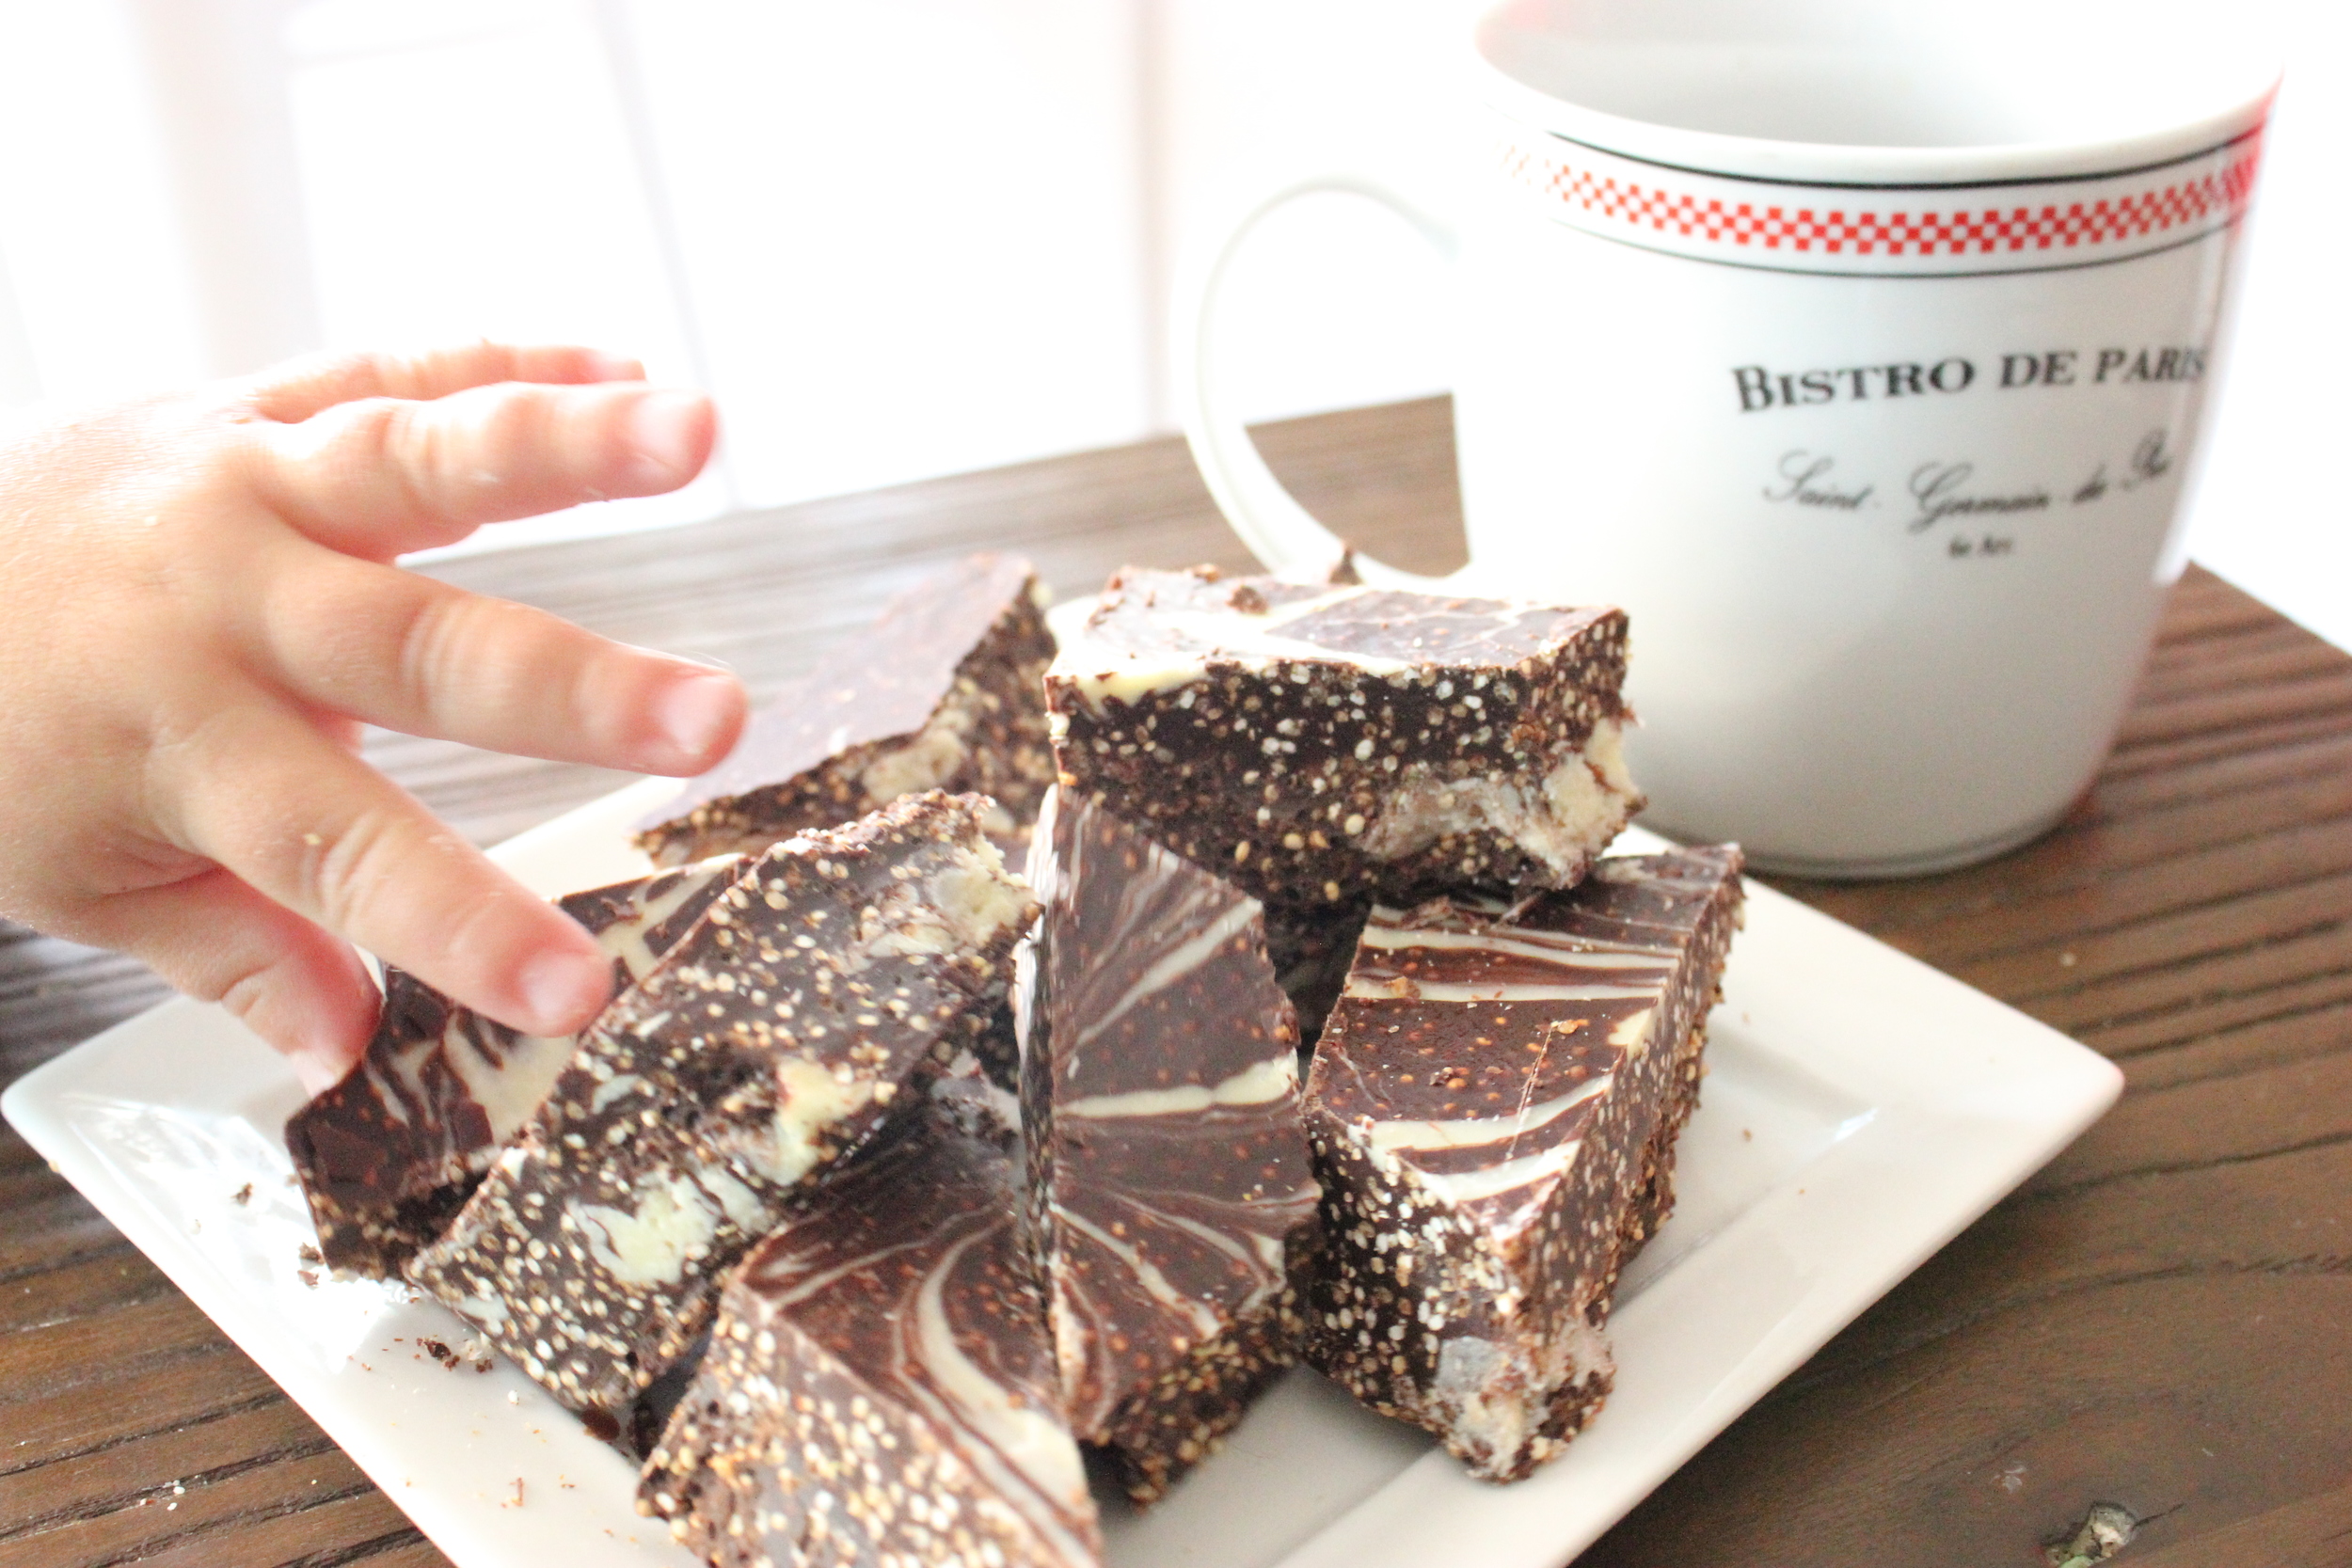
I went back to the stove and melted the white chocolate in the double boiler.   The original recipe only called for 4 oz white chocolate, but the first time I drizzled in the white chocolate it just dumped right to the bottom. DAMN.  I was determined to make this as pretty as the original picture so I melted 4 more oz of white chocolate and tried again.   Nailed it!  After I drizzled in the white chocolate, I used two toothpicks to swirl the chocolates together in a pretty marble pattern.    Take that Pinterest!

IMG_4894.JPG

I refrigerated the entire pan until the chocolate was solid and then cut into chunks.  We were headed over to our friends house for a group dinner that night so I figured I'd take them for a taste test.  My girlfriends might pretend like they like it just to be polite and but their husbands will tell it like it is. I'm known for my decadent desserts and these big boys will call me on my diet sh#t if it's not good.

So did this recipe pass the husband taste test?   Well, let's just say Max wasn't the only guy sneaking an extra bite of chocolate crunch.....


 So make like Max, and Treat Yo' Self to this guilt free dessert!  

Quinoa Crunch Bars

Makes: 1 8x11 pan

Prep Time: 1 hour 15 min

Active Time: 15 min


INGREDIENTS:

24 ounces 70% dark chocolate (or higher)
1 3/4 cups popped quinoa
8 ounces white chocolate 


Line an 8x11-inch baking pan with parchment paper


Melt dark chocolate in a double boiler over a water bath.  Remove from heat and stir in popped quinoa. Pour into prepared pan.

Melt white chocolate in a double boiler over hot water bat. Pour over dark chocolate.   Use a toothpick to swirl the two chocolates to create a marbled pattern. 

Refrigerate until set. Cut into desired chocolate bar sizes.


***If you are following 21 day fix, I would count this as 1 yellow but use it as one of your treats for the week.